
If you are interested to find out how to start a blog with HostGator.
You have come to the right place.
In this article, I will show you the step-by-step guide on how to start a blog with HostGator.
HostGator is a very popular web hosting provider that has been around for quiet some time already.
What makes HostGator appeal with its customers is that they offer a monthly subscription to their hosting packages.
This means that you can start with really low budget. Unlike some of its competitions which will force you to pay 12 months upfront.
Aside from regular Shared Hosting. HostGator also offers Cloud Hosting, dedicated WordPress Hosting, VPS and Dedicated Server.
In this particular guide, we will be using a regular Shared Hosting package.
Here is your step-by-step guide on how to start a blog with HostGator.
1. Purchase Hosting Plan
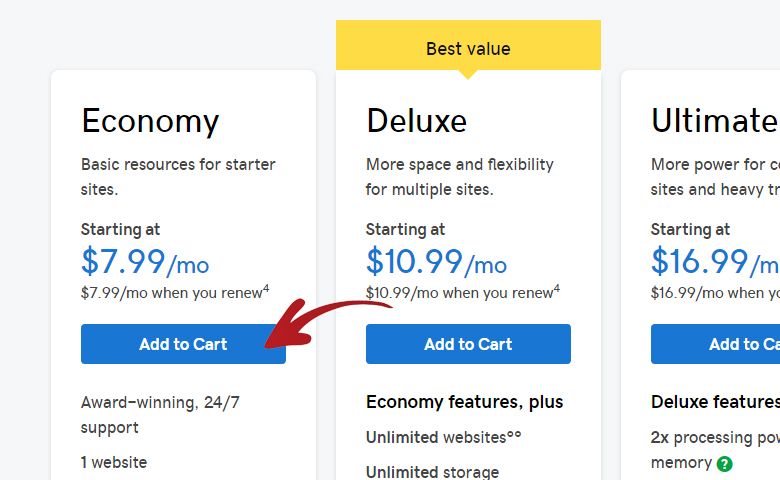
The first step is to go to the Web Hosting page of HostGator and purchase the Hatchling Plan.
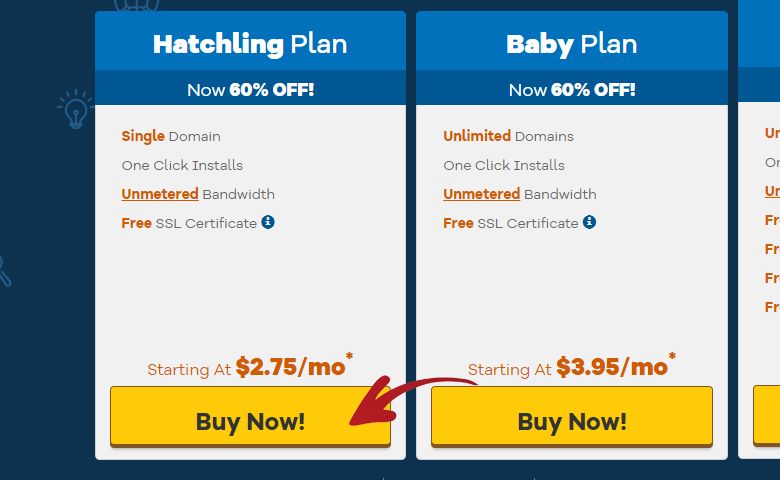
To initiate this click the Buy Now button under the Hatchling Plan.
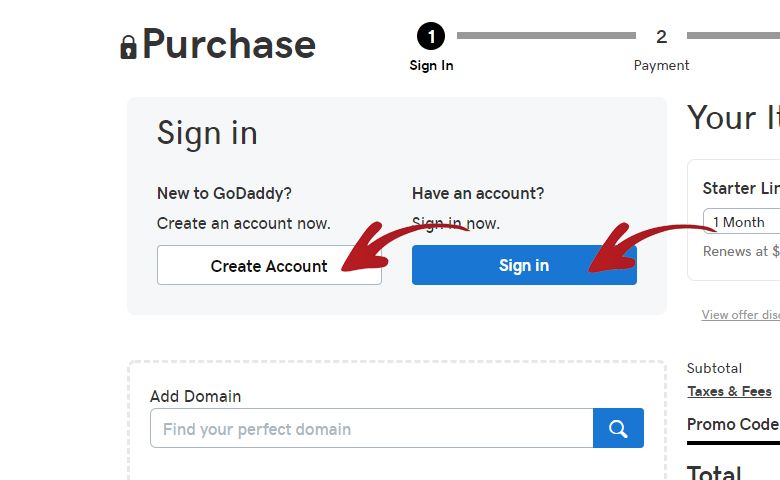
You will be redirected to a page with multiple steps you need to fill-up.
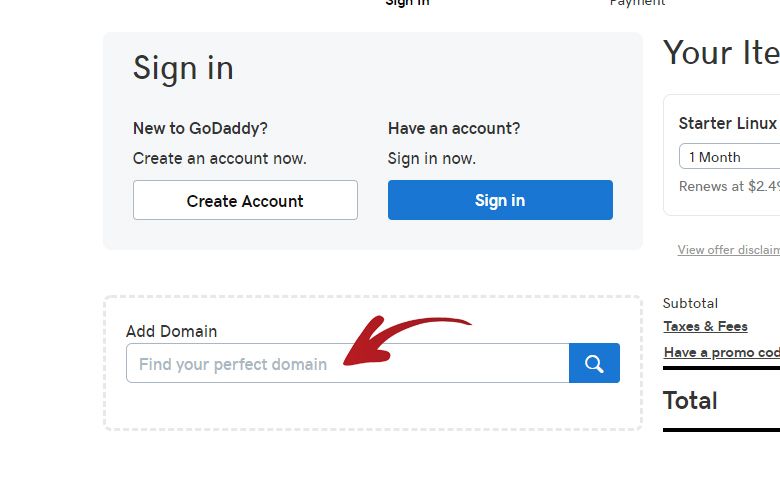
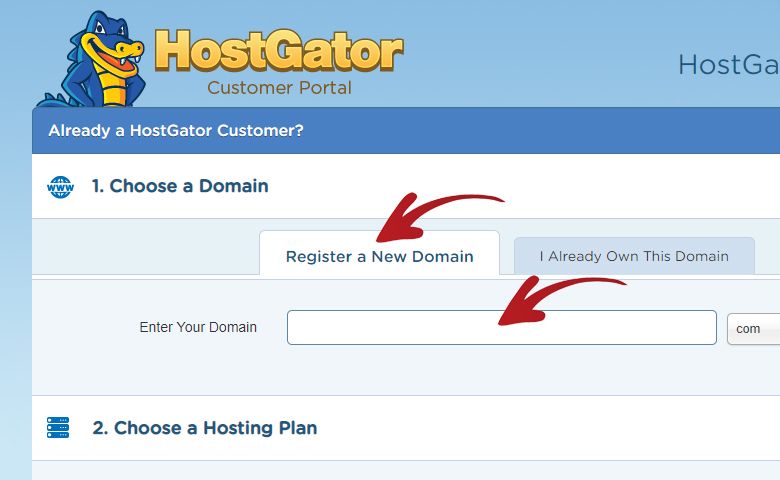
The first step is to purchase a New Domain or add Your Own Domain.
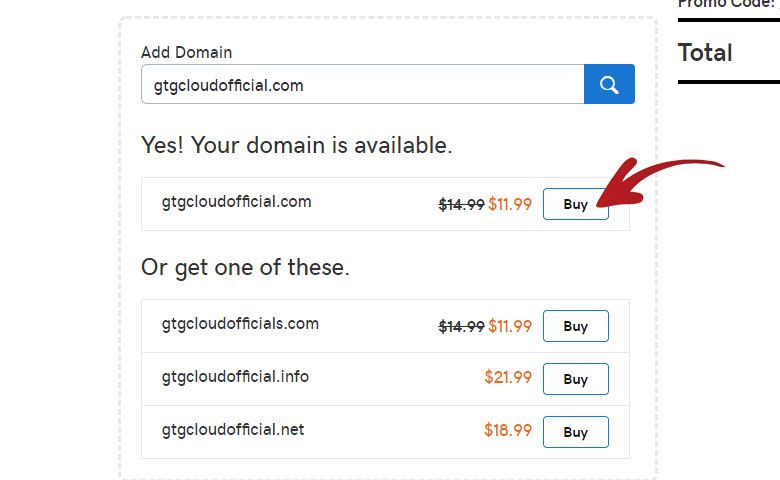
If you want to purchase a new domain. Type your new domain on the Register a New Domain tab input field.
In my case, I already have a domain I purchased from a different registrar so I clicked the I Already Own This Domain tab.
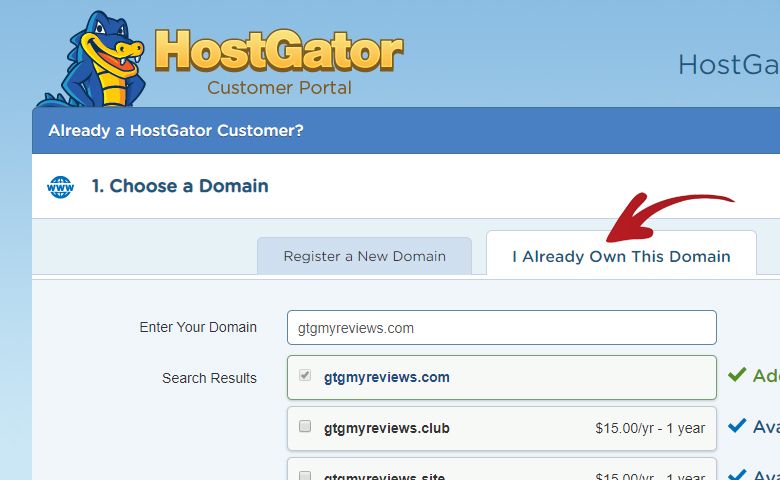
I the input field, I just typed the domain name I already owned. It is automatically added as my Primary Domain.
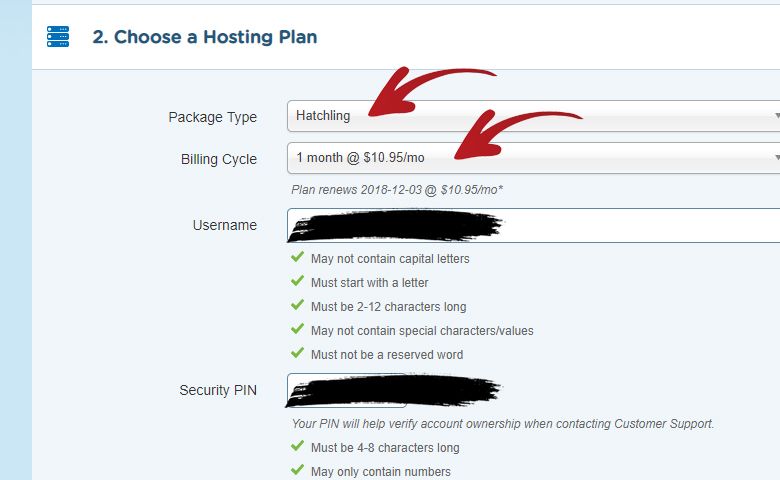
The next step is to Choose a Hosting Plan.
We already decided that we will be using the Hatchling Plan so make sure that in Package Type, it shows Hatchling.
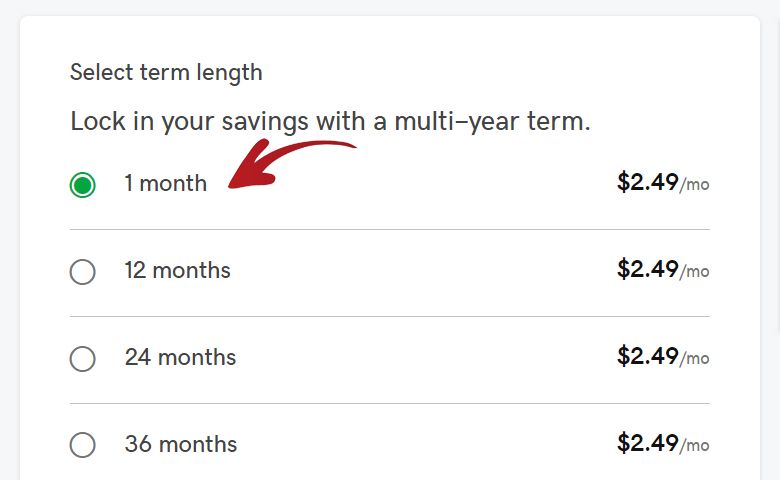
In the Billing Cycle I chose 1 month so I will be paying monthly.
Next is type in your preffered Username and Security PIN.
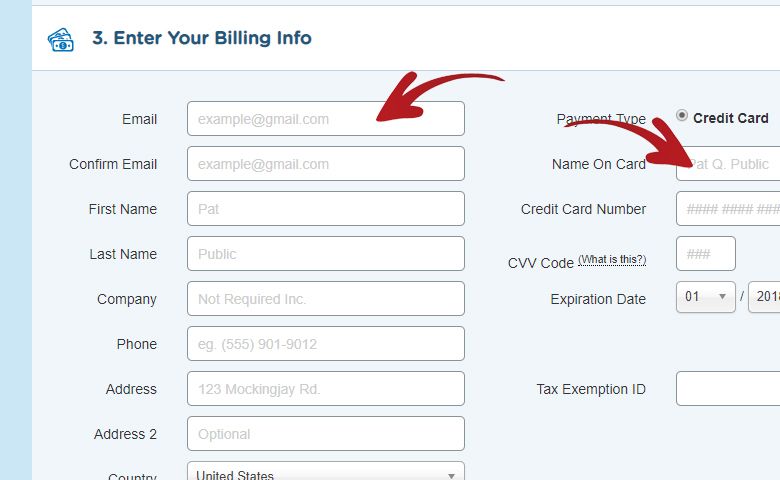
The next step is to Enter Your Billing Info.
You will need to fill-up all the required fields here and your Credit Cart or Paypal details.
Whichever payment method your prefer.
After you filled-up your billing information.
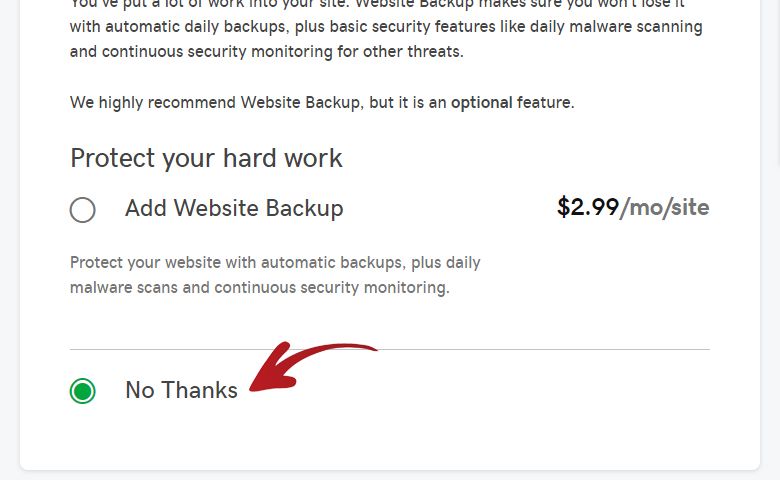
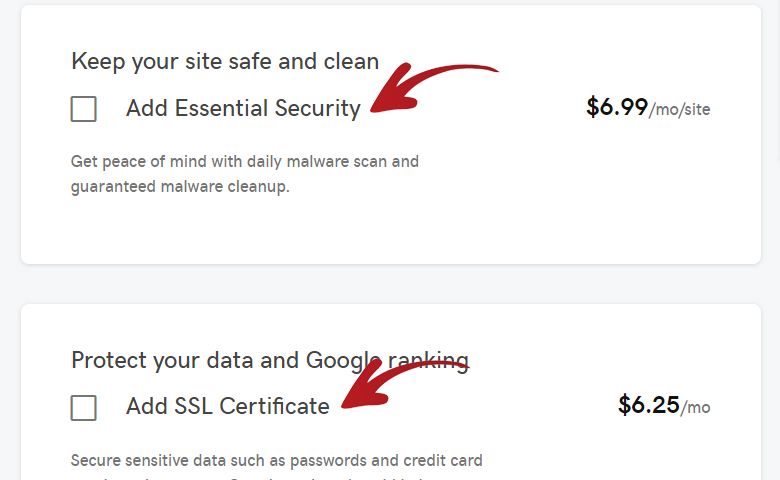
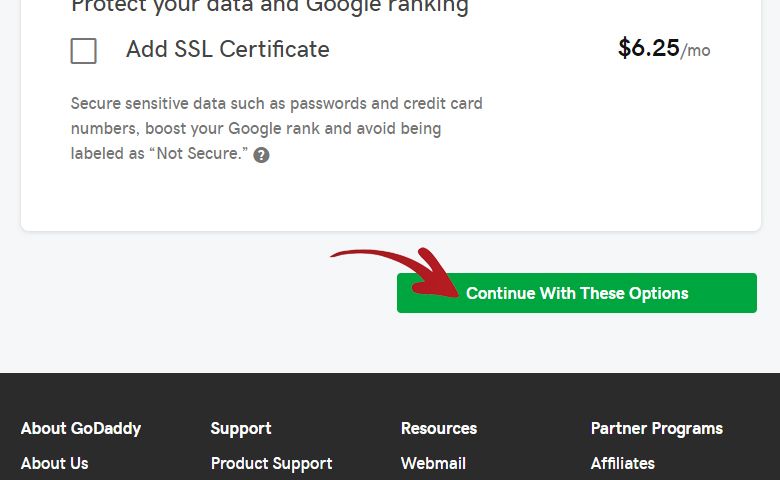
Scroll down to the Add Additional Services section.
In this section, you will have a choice if you want to add services like SiteLock Monitoring, Professional Email, Site Backup and HostGator SEO Tools.
In my case, I unchecked all of them as I will be using free plugins to do these services for me.

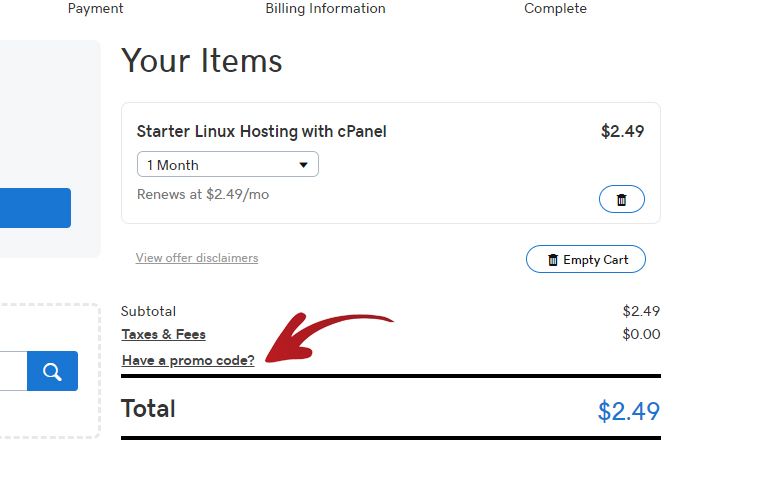
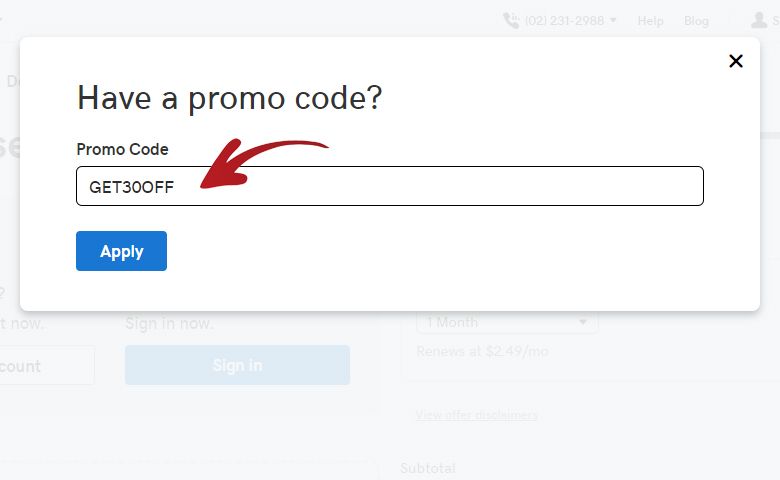
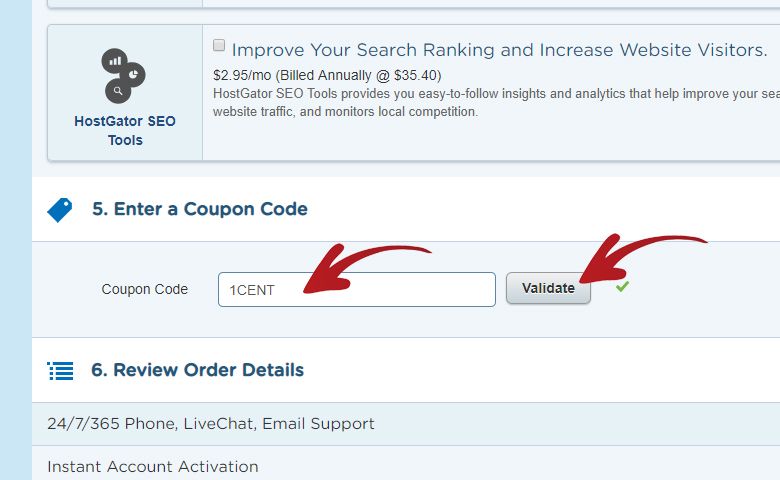
2. Adding Coupon
I always encourage my readers to search for a coupon code first before purchasing anything from web hosting providers.
This will allow you to save a lot of money in some cases. Or even get your first 2 to 3 months for free.
In this particular article I am able to get a coupon code which allows me to pay only $0.01 for my first month.
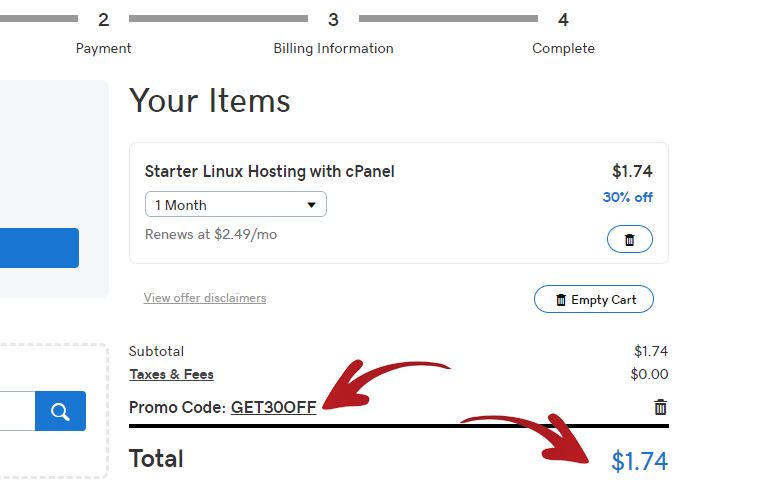
To use a coupon code, just type your coupon code on the Coupon Code input field and click Validate.
If your coupon code is valid, you will see a green check icon on the right side of the Validate button after you click it.
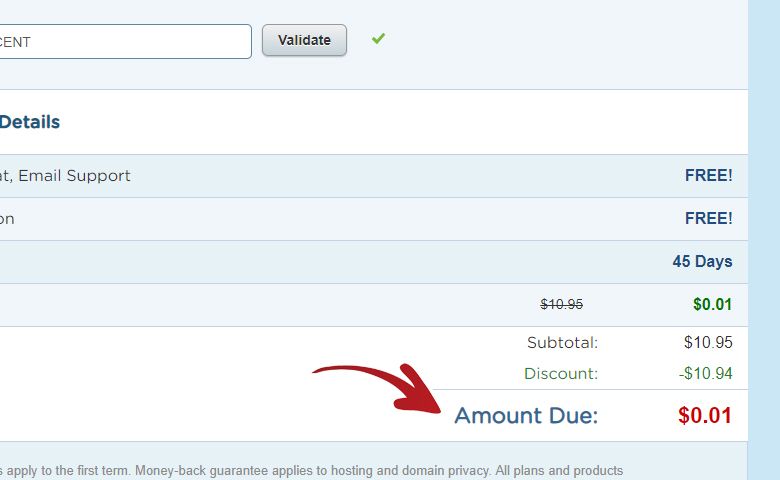
You should also see your Amount Due gets updated after your coupon code is applied.
3. Finishing You Purchase
All you have to do now is scroll down and check the agreement checkbox.
Then you can now click the Checkout Now button to finish your purchase.
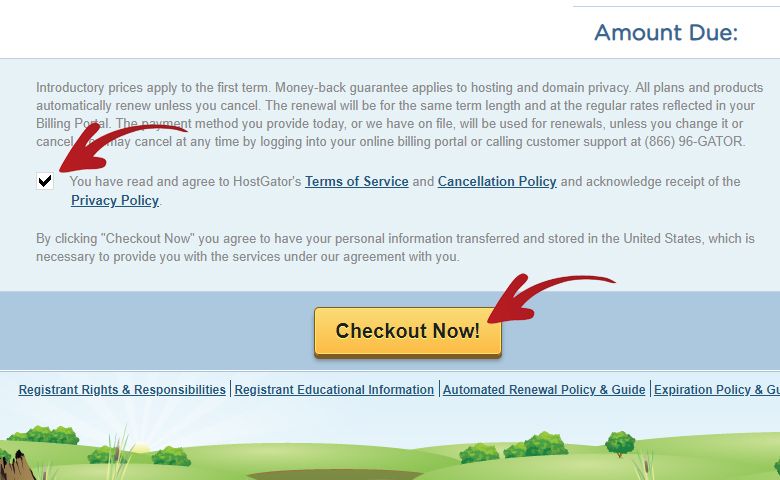
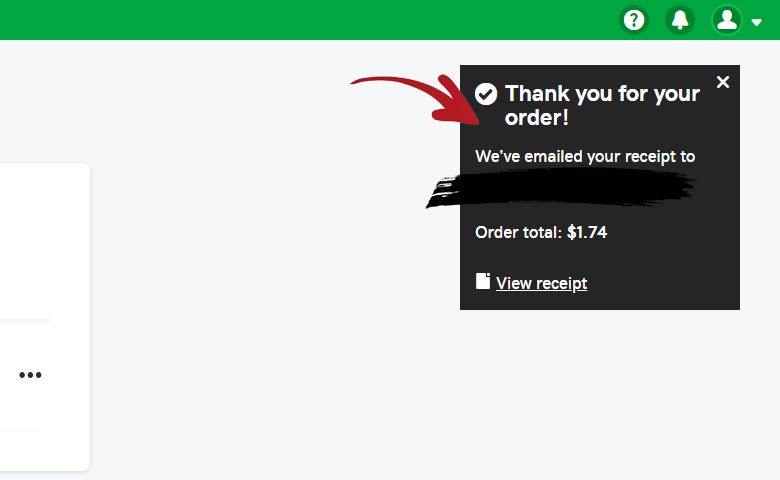
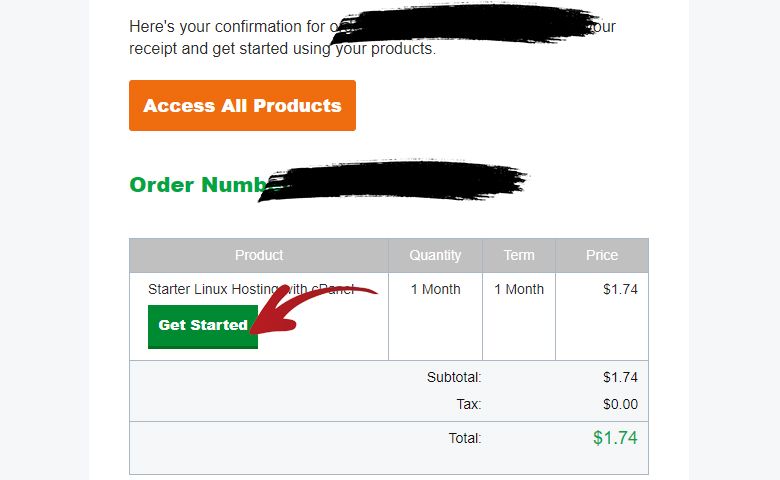
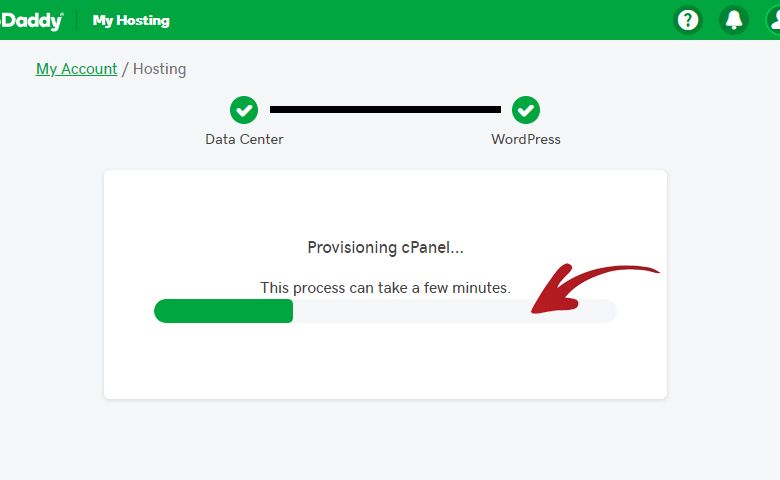
If your purchase is successful, you will be redirected to this page.
On the bottom of this page, you will see a loading bar so just wait for it finish processing.

4. Fill Up The Survey Popups
After the previous page finished loading.
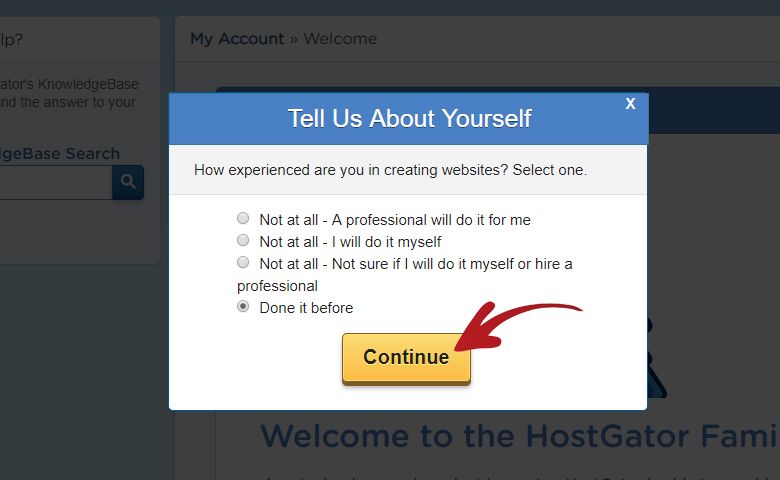
You will be redirected to a page with popups asking questions about you.
The first popup will ask you about your experience in creating a website.
I choose Done it Before and clicked the Continue button.
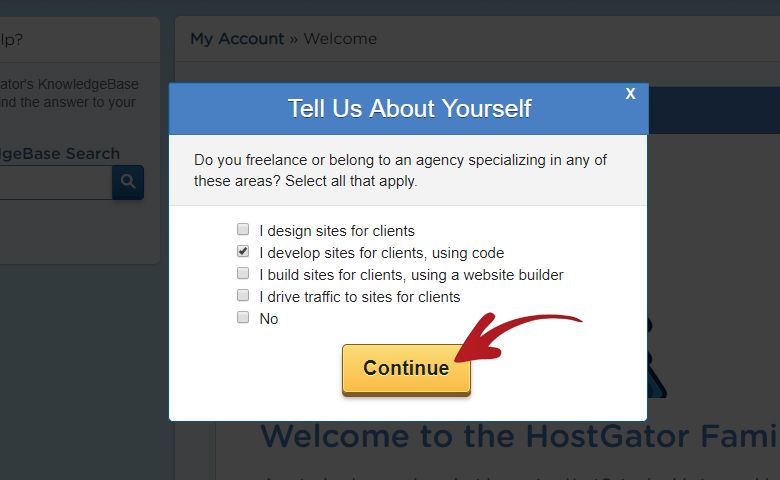
The next popup will ask you if you freelance or belong to an agency.
I chose I develop sites for clients then clicked the Continue button.
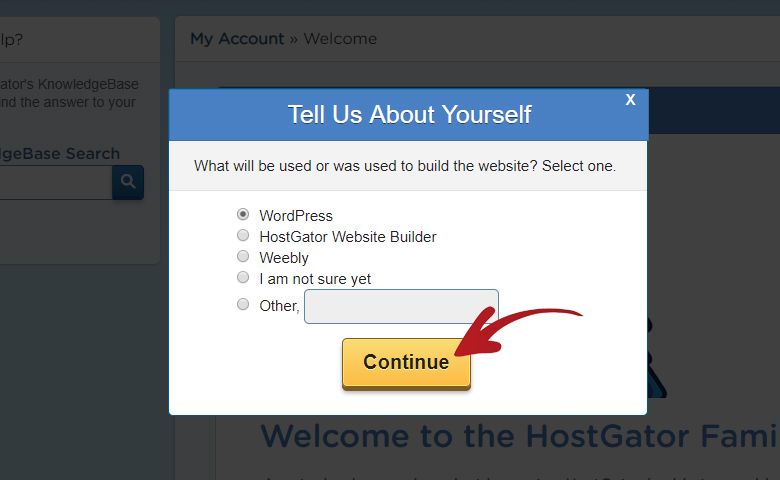
The third popup will ask you what platform you will use to build your website.
I chose WordPress then clicked the Continue button.
The last popup will ask you about the purpose of your website.
I chose Personal interest with no income expected then clicked the Continue button.
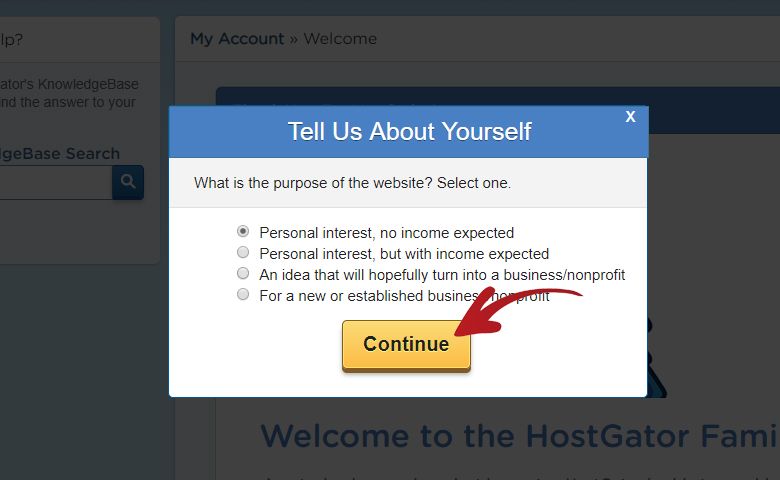
That is it for the survey questions.
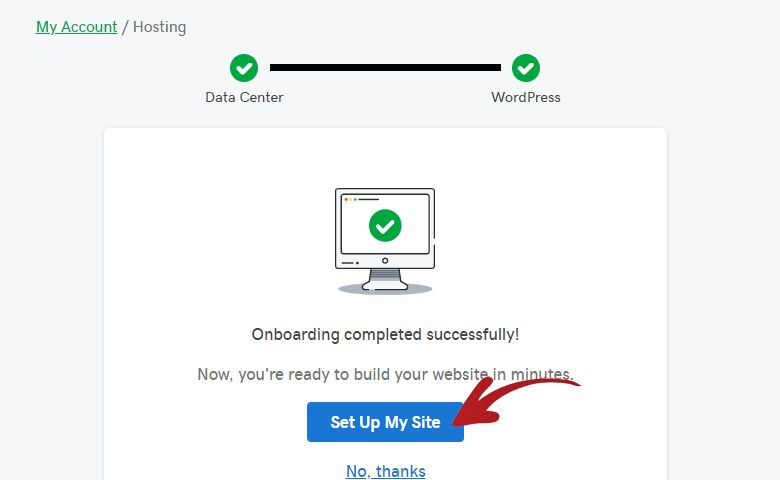
After clicking the last continue button you will be redirected to this page which says your order is now completed.
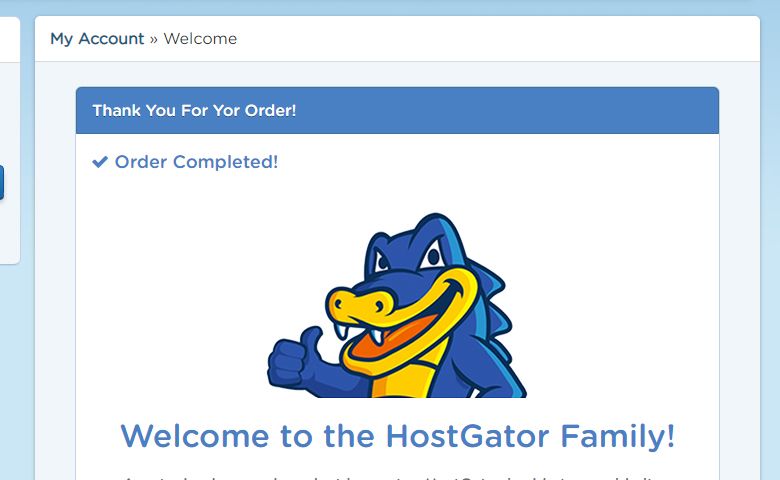
You can now close this browser tab as we don’t need to stay in this customer portal page.
5. Logging Into the Control Panel
The next step is to open your email that you use when filling up your billing information.
In your email inbox, find the the HostGator email which contains Your Account Info.
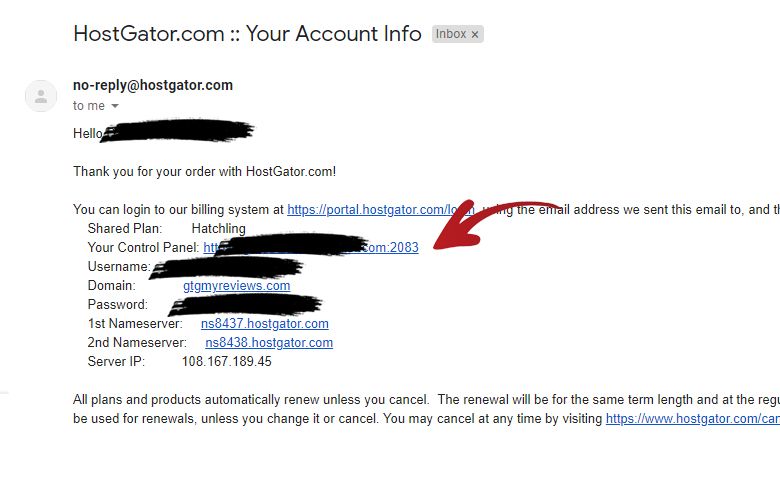
In this email you will see your Control Panel link, Username and Password.
Click on Control Panel link to open your control panel login page.
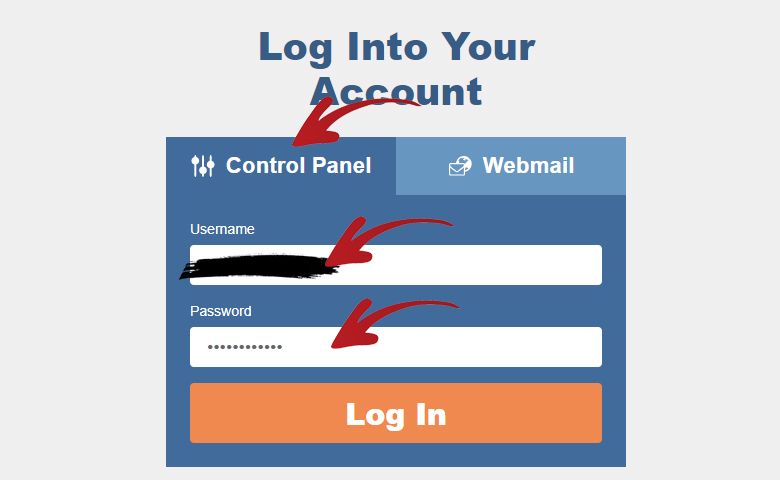
In the login page, use the Username and Password shown on the HostGator email.
6. Installing WordPress
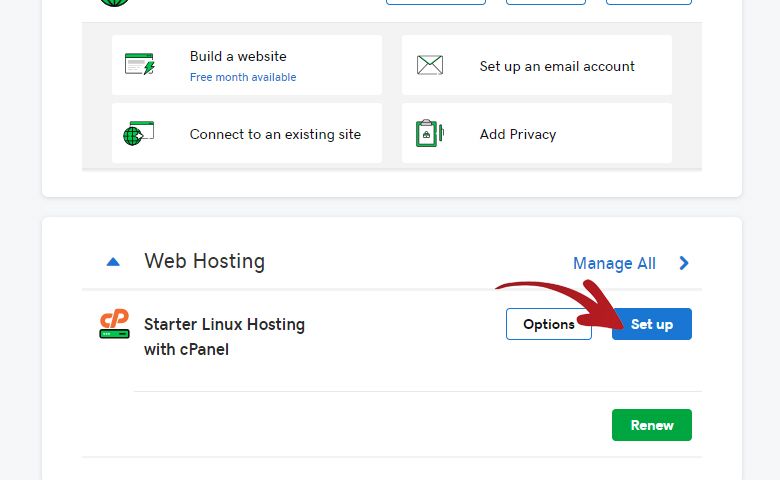
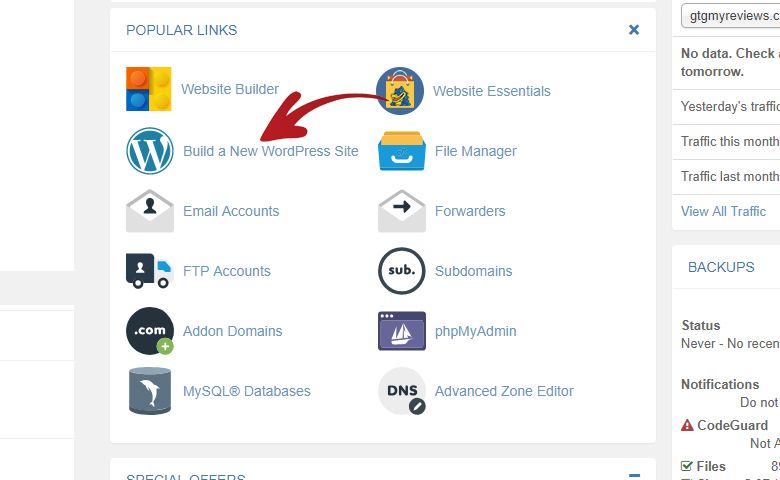
Now that you are inside the control panel.
You can now find and click the Build a New WordPress Site link.
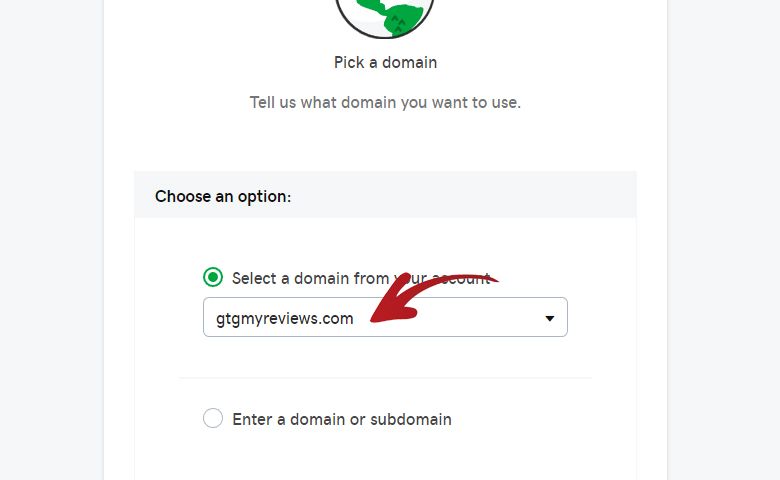
You will then be redirected to a page that shows the Select Domain For Installation dropdown.
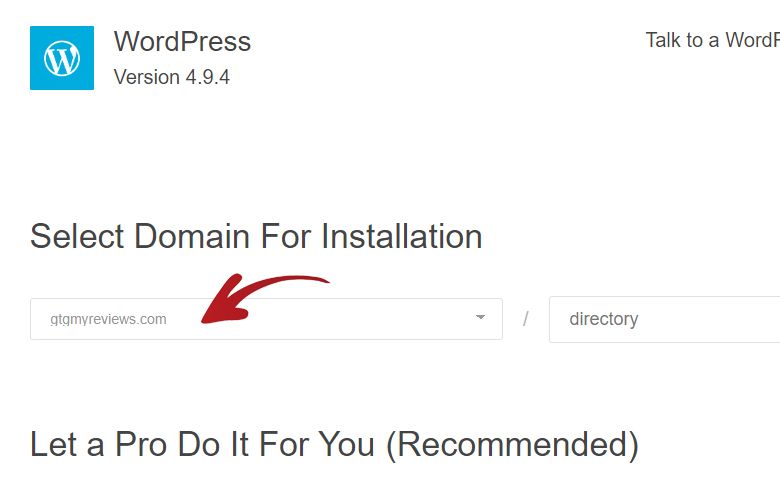
Select the respective domain you want to use.
In my case I chose my gtgmyreviews.com domain.
After you chose your domain, click the Next button on the right side.
You will then be redirected on the next step.
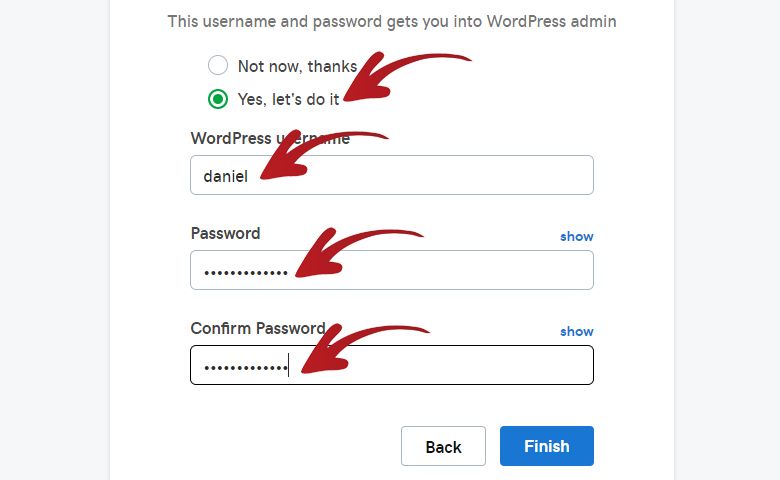
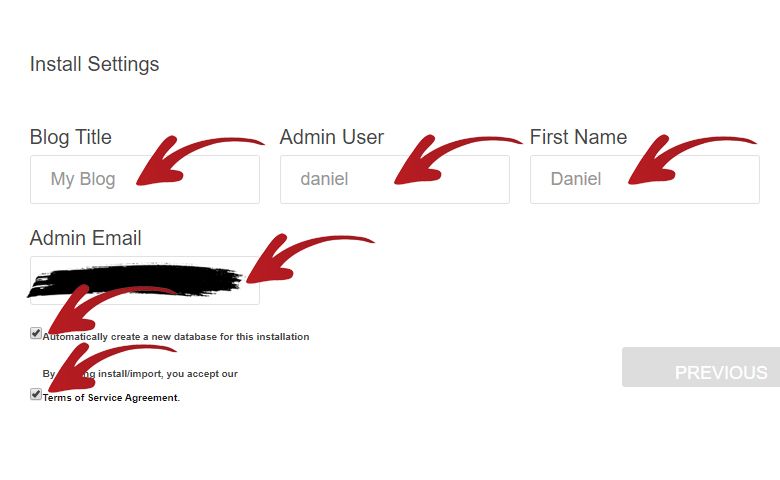
On this step you need to fill-up the Blog Title, Admin User, First Name, Last Name and Admin Email input fields.
After you filled-up the input fields above, check the Automatically Create Database and Terms of Service Agreement checkboxes.
Finally, you can now click the Install button.
You will then be redirected to a page which says WordPress Is Installing.

After it finished the installation, you be redirected to a page which says Installation Complete.
Right under it on the right side, it will show you the Domain where WordPress is installed along with your Username and Password.
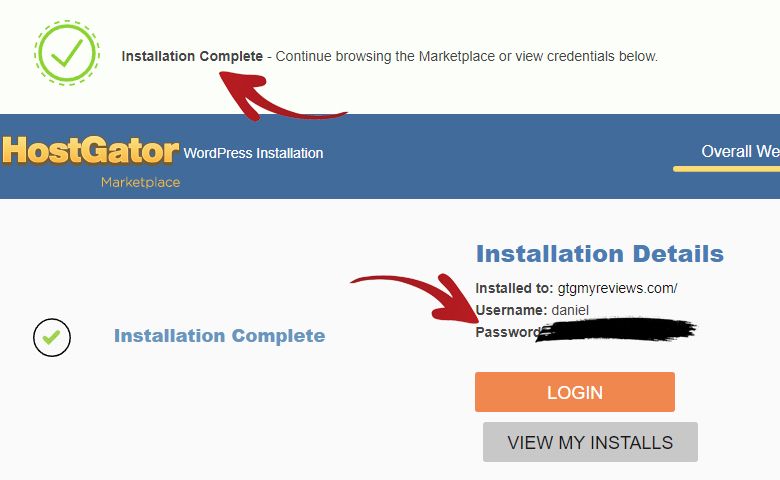
Make sure to take note of your WordPress Username and Password as this will only be shown to you once.
If you use a domain that you bought with HostGator then you can skip the next step.
However, if you are like me who bought the domain from another domain registrar then you will need to do this next step.
7. Pointing You Own Domain To HostGator – Optional
If you bought your domain from another domain registrar then you will need to point your domain to HostGator.
To do this you will need to take note of the HostGator nameservers.
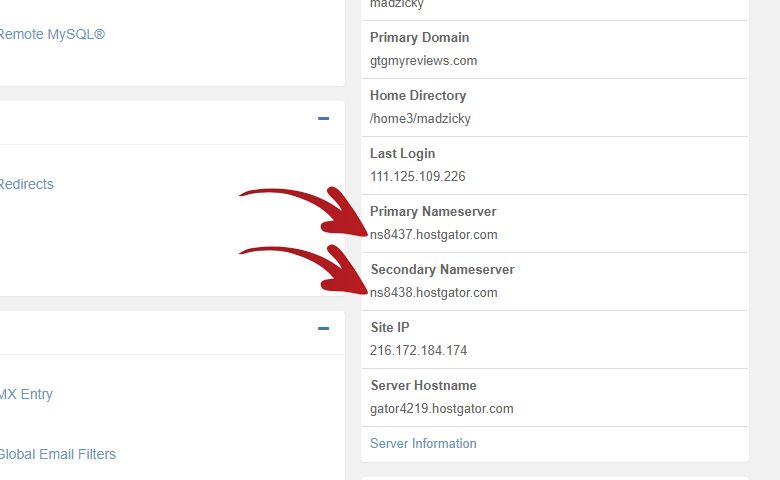
You can get this by logging into your HostGator control panel and looking at the right sidebar.
Alternatively, these nameservers are also in the HostGator email containing Your Account Info.
In my case the nameservers are:
- ns8437.hostgator.com
- ns8438.hostgator.com
The next step is I needed to log-in to my domain registrar and edit my DNS nameservers.
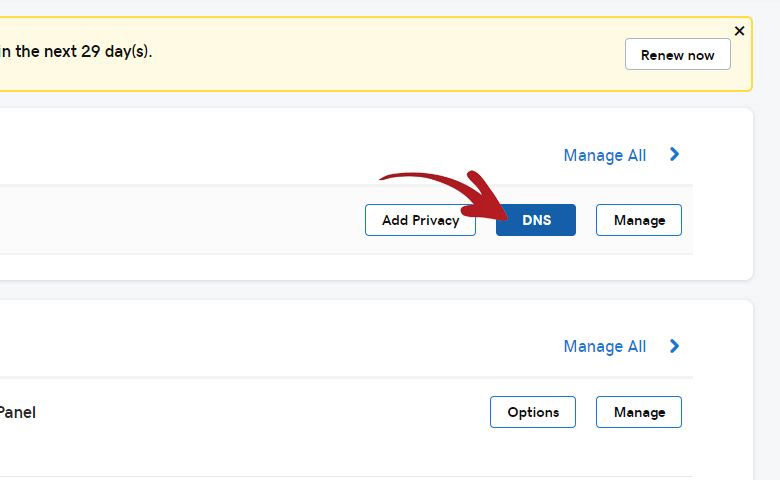
In my domain registrar, which is GoDaddy, there is a DNS button on the right side of my domain name when I open My Account section.
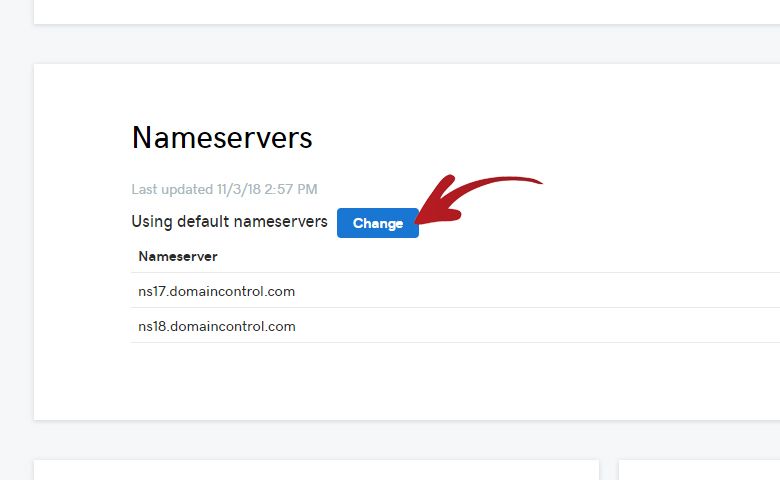
After I clicked the DNS button, I am then redirected to a page where it shows my Nameservers.
I needed to click the Change button to initiate changing my nameservers.
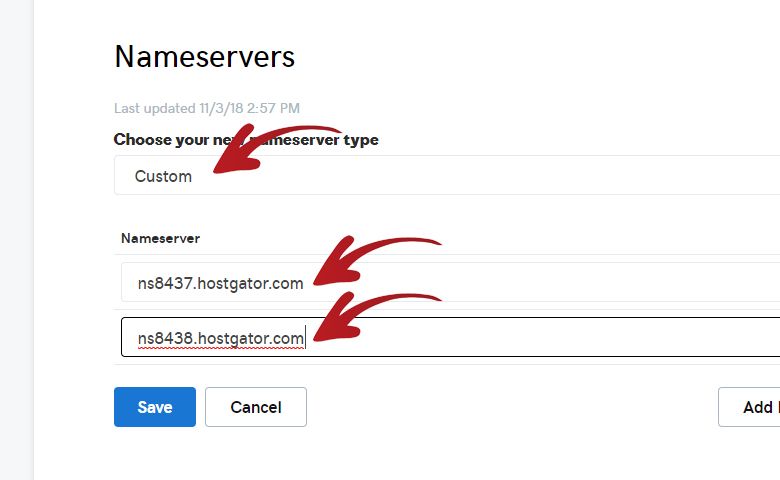
It then shows me a Choose Your New Nameserver Type dropdown.
I chose Custom, and then it shows me two input fields where I entered the HostGator nameservers.
After that, all I have to do is click the Save button.
The page will then refresh and it showed me this notification which confirms that my nameserver update has been successful.
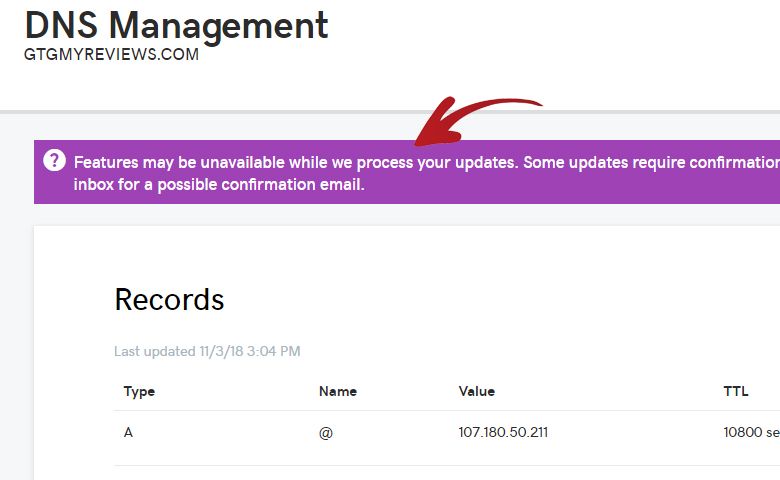
All I have to do now is wait a couple of hours for the DNS propagation to fully finish.
8. Finishing The WordPress Installation
After you installed WordPress in the HostGator control panel.
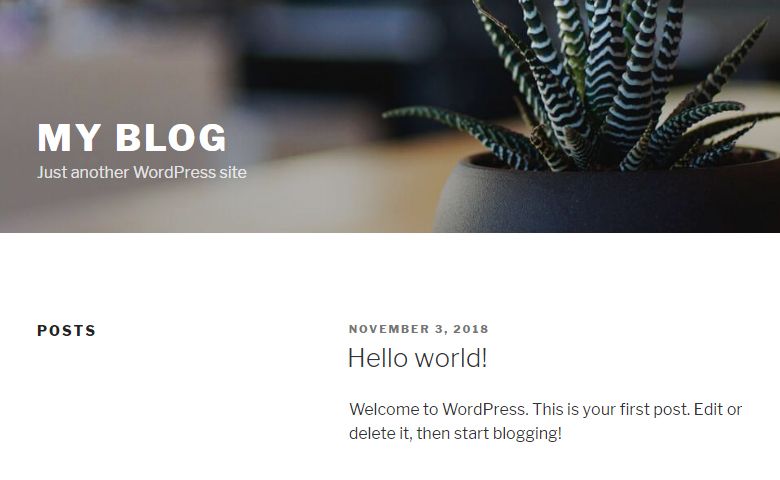
The first time you visit your domain where you installed WordPress. It will look like something in the image below.
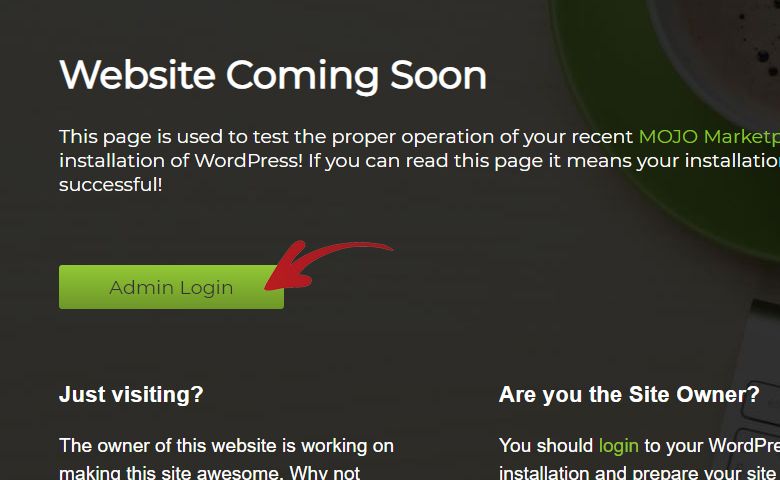
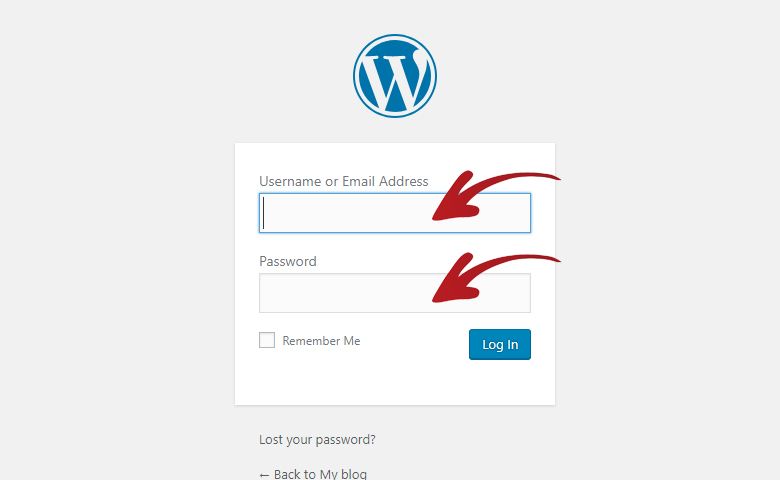
To remove this, you will need to click the Admin Login button and you will redirected to the WordPress login page.
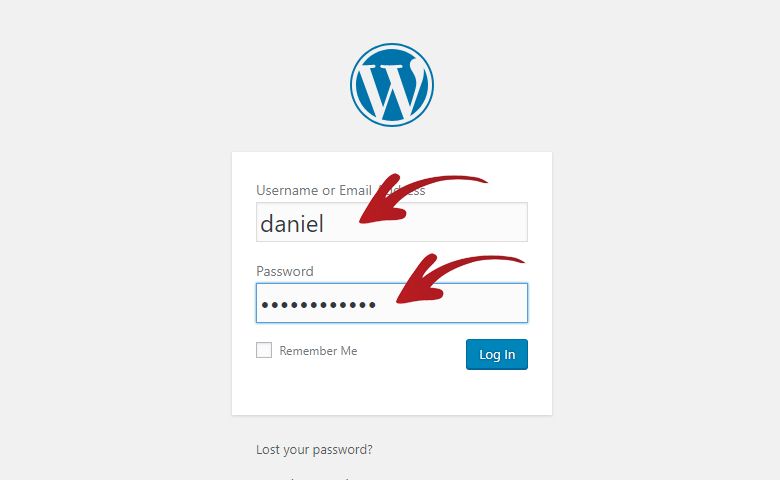
Login using the Username and Password given to you on the last page of the WordPress Installation step.
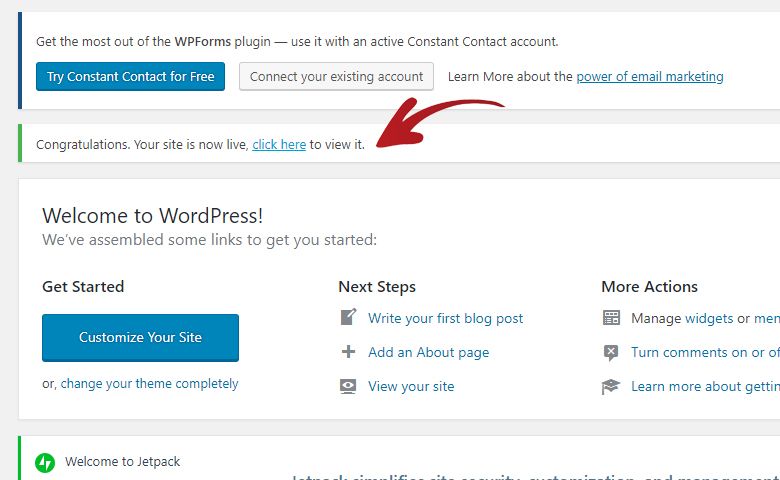
Once you are logged-in you will see a notification that says Your site is currently displaying a Coming Soon page.
On the right end of it, it says Click Here. Click on it to remove the Coming Soon page.
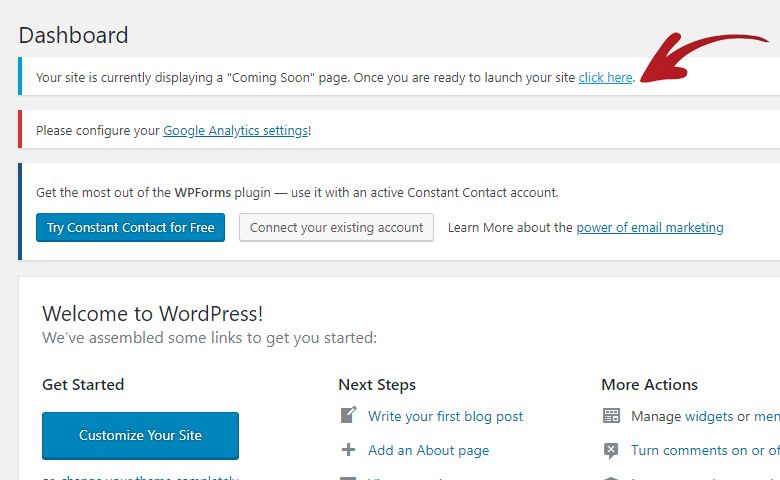
The page will then reload and you will be shown a notification saying Congratulations. Your site is now live.
That is it, you can now visit your domain and it will show you a WordPress website with the default theme.
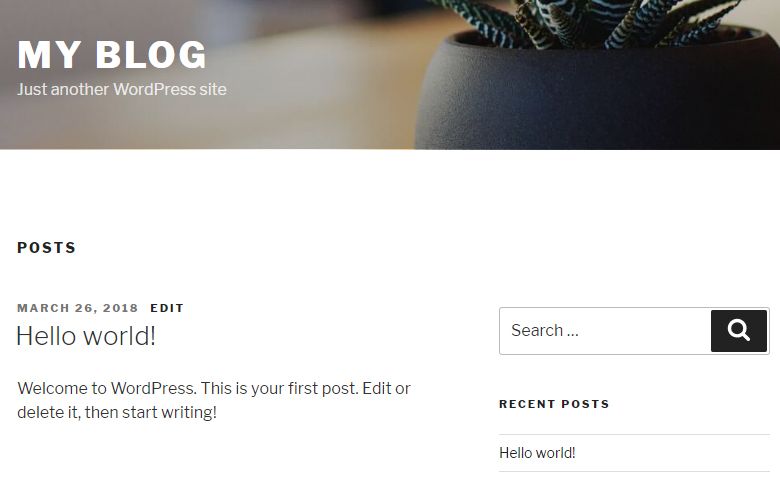
You can start customizing your website by installing a theme that you prefer or installing plugins that you want to use.
You can even start posting new articles in the Posts section.
Conclusion
That is your step-by-step guide on how to start a blog with HostGator.
I got a really good deal on my first month by only paying $0.01 on my first month.
So I highly suggests looking for coupons first before purchasing.
HostGator is also one of the most popular web hosting that has been around for a long time already so you cannot really go wrong with them.
If you are a starter blogger on a budget and can only afford paying through monthly basis then HostGator is a good choice.
After you installed WordPress, you might want to checkout my recommended security plugins and recommended essential plugins.